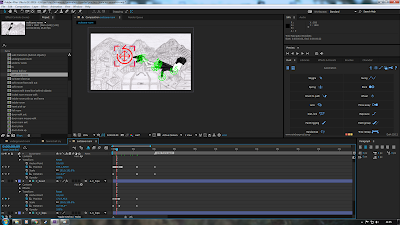
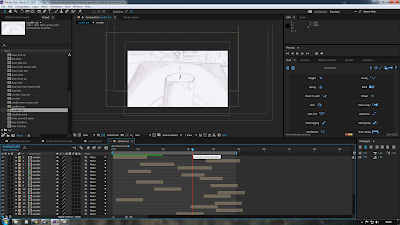
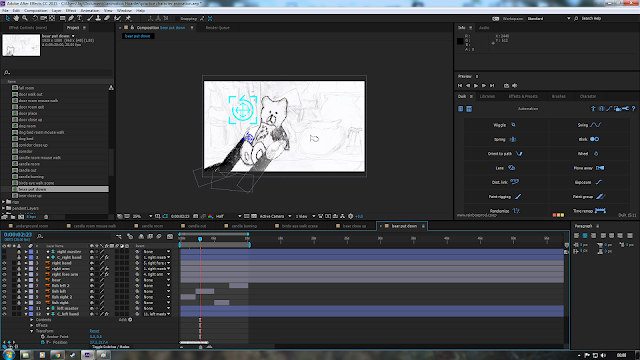
but for the drawn animation stuff inside the house i animated it
this is the animation for the mouse coming out of the suitcase, i had to put a mask on suitcase dublicated layer to block the mouse behind the front. i then animated the position of the mouse
for the hand i had to duplicated the mouse and animate a mask to the hand layer. it had to move when the hand moved to block out the mouse but not the hand, the position of all the layers was very important
for the fall i had to animate each controller individaully, i did it with big gaps so it was easier to get the timing right with the keyframes. i started with the head and hips then did the lims. i liked this as the transition and didnt feel the need to have him walk up to it.
for this scene i had to position the hand rigs i had created so it looked like a pov shot. then i created a few diffrent tear fall cycles and positioned them so the dropped seperatly
the tear was created in illustator with two layers. then had it flicker with two layers with time rewrite.
for the tv scene i added a mask to isolate the effect then added a noise effect with full stength. the mask was drawn with the pen messly so it looked hand drawn
this is the smoke mask i made in illustaor i used 3 layers. each layer was slightly diffrent created via the rubber tool. i then had it flicker between them.
i had the smoke behind the front layer and had it scale up and become more opace
for the fall i animated the position of the fall then i animated each limb indiviaul so it looked random like a fall
for this scene i had to individaully cut out all the layers so the mouse could pass between one layer and the person behind that. it created a cool 3d effect. i had to position the new layers carefully.
this shows how i put the precomposition of the walk cycle. i animated the position then changed the time remap so it fitted how it should look.
this shows how i used masks to put the character behind the objects.
for the zoom outs i had to animated the same amount of scale down to the background and the character, the anchor point had to be in the same place. i know i could use 3d cameras but i didnt want to add cameras to this
i animated the character but using duik. i used rotation to make his hand move, i spent time to make sure he natural fitted into the background using the master scale
i made the character skip between the rig and character walk animation by positioning them well and making sure the scaled properly , i made the rig disipear and the walk cycle jump in.
the scene was the taken into photoshop were we coloured the background using brushes and an overley.
for the mouse walk i created i new walk cycle but addapting the old one to have the mouse in his hands
for this i had the character walk in. then croach down using the rig, i had to animated the master so the feet stayed in the right place. i then had the heart keyframe position to the movement of the hand and turn opace when it reached his pocket.
i had to animated the rig in position with the walk cycles so it natural move into each one, so the foot would move to nautral position, then he reached up to heart.
to make the pendent swing i moved the anchor point to the top of the chain and keyframed the rotation of it.
i used the close up hand rigs and animated the position and rotation of the controller.
for the fall room i again had the character walk behind the cut out front layer. then switch to the profile rig. i then had the position change every 3 frames for back and front layers. i moved it randomly to have the effect, being carefull not to have the frame leave the scanned picture, i then animated the head controller to move back and forward. then finally the whole rig moved down.
for this scene it was again coloured in photoshop. but then for the rig i had the whole rig bounch up and down to simulate walking. also i had the arms move in the motion. i also had a mask so the character could walk behind.
this needed to match the scene before so i imported the same rig then animated it backwards moving away.
this is how i made the walk cycle change to rig, by matching the final frames so the look fluid
i used rotation of the head to create gaze in the character.
to animated the ball i used position keyframes. i had to make sure it stayed on the table at the start so animated it to that, then i slowly went through the movement to make it look real
this is were i implement the walk forward, i had to position it properly so it fitted with the rig. i then had to ajust the loop (timeremap) also i put the teddy in seperatly. i also had to scale it so it worked in z space.
for bending down it was difficult as i couldnt use z space, id like to make create a rig which could do this.
for the candle i had to use illustrator to create the layers to make the smoke, then make them flicker, i had them move randomly from diffrent positions and speed to make it looke real.
this was done similar but the animation was put in the same position. i then had the hand move in.
for this animation i create 2 walk cycles for the person which was just flickering hair that moved up and down and the mouse. then just used position key frames, i used rotation for the mouse to make it move in cicirle movements.
for this part i parented layers and animated keyframes to put the bear down, i had to do this frame by frame. for the fish i used 2 fish, one left one right the used position.
this is how i made the flicker effect on my animations. in illustator i created 3 layers but drawing one then drawning a similar one on another layer, this created slightly diffrent versions which create the flicker when put after each other in after effects and use a loop.
for the faces i created the same flicker effect using illustator, i drew them on the characters i created on there and saved just the faces. i then created the flicker effect. i did this for front, profile, 45 and did sad ,neutral and happy.
i then parented the face layers to the head and positioned them and scaled them on each scene.
there was alot to the animation but i think i covered the main elements :)


No comments:
Post a Comment